So there is little in this world that is more perfect than cheese. It can accompany wine to a black tie event, yet can relax at home with simple crackers...it would have been voted most popular in high school (and most likely to succeed!!!)
Is it obvious that I put cheese on a pedestal? It can do no wrong! So when I came across this recipe it was a no-brainer...it was going on the menu. These fritters are delicious and easy. Plus it lends itself to anything your creative imagination can come up with. Substitute the cheeses with your favorites, add some spices...get crazy and have fun with it!!
If you need a push to get those juices flowing...
Cheeses: Gouda, chedder, mozzarella, Italian blend (mozzarella, romano, parmigiana)
Spices: garlic powder, onion powder, red pepper flakes, paprika, basil, oregano
Ok...now there is no excuse...get to it, the cheese is waiting!
Fritters:
- 1 1/2 cups fresh whole milk ricotta
- 1 1/2 cups shredded smoked mozzarella
- 1/4 teaspoon salt
- 1/4 teaspoon freshly ground black pepper
- 2 cups panko (Japanese bread crumbs)
- 2 large eggs
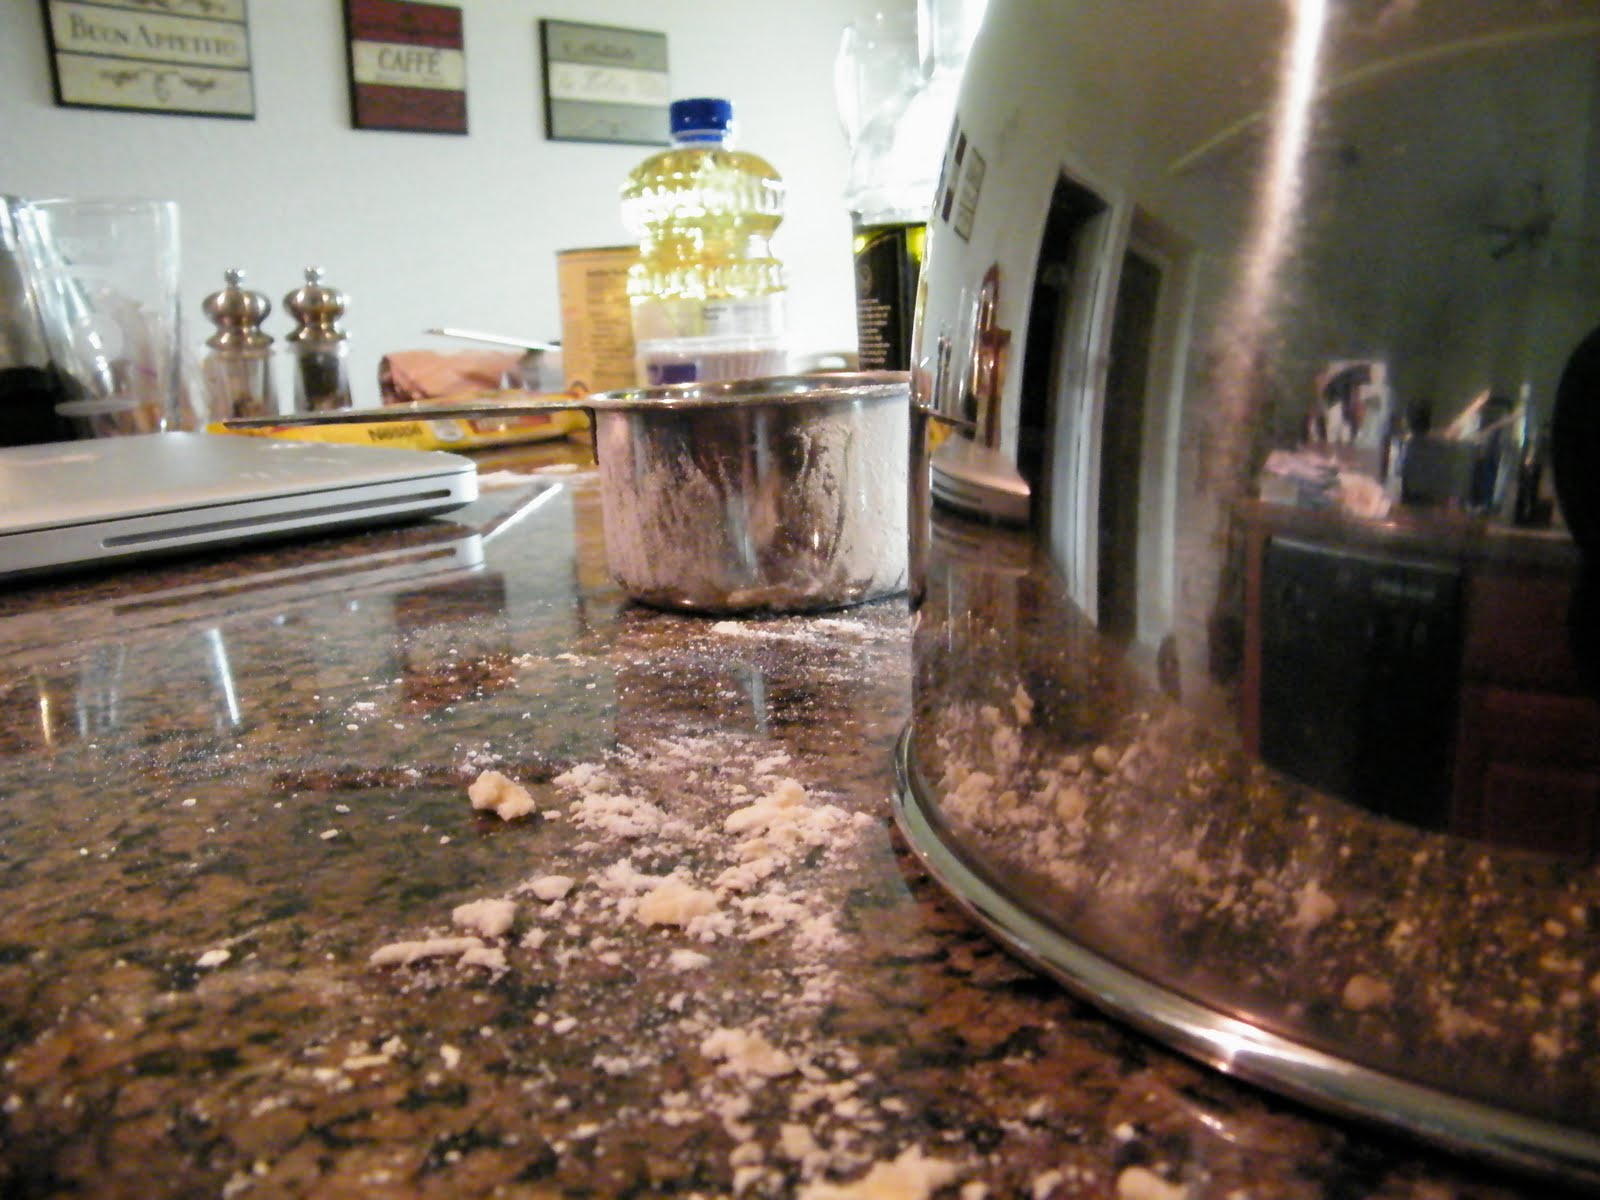
- all-purpose flour
- Vegetable oil, for frying

Scoop a 1 1/2 tablespoon ball of the cheese mixture into the flour and roll to coat. Transfer the ball to the eggs and roll to coat. Transfer the cheese ball to the panko and again roll to coat. Transfer the ball to the parchment-lined tray. Continue with the remaining cheese mixture.

Meanwhile heat 3 inches of vegetable oil in a large skillet to 350 degrees F. Fry fritters in batches, being careful not to overcrowd the pan, until golden, about 1 to 2 minutes. Remove with a slotted spoon to paper towel to drain. Serve warm with Balsamic Dipping Sauce.

Balsamic Dipping Sauce:
- 6 tablespoons balsamic vinegar
- 2 tablespoons lemon juice
- 2 tablespoons Dijon mustard
- 1 tablespoon honey
- 1/2 cup extra-virgin olive oil
- 1/2 teaspoon salt
- 1/2 teaspoon freshly ground black pepper